Happy Friday everyone! Today I am branching out! I know I normally just post deals, giveaways, and my weight loss posts. But, I was given a challenge from Oh My Crafts and I took the bate. They offered me the chance to play with some of my craft blogger friends and see what I could create with a box of craft supplies they sent. So here it goes…my first attempt at craft blogging:
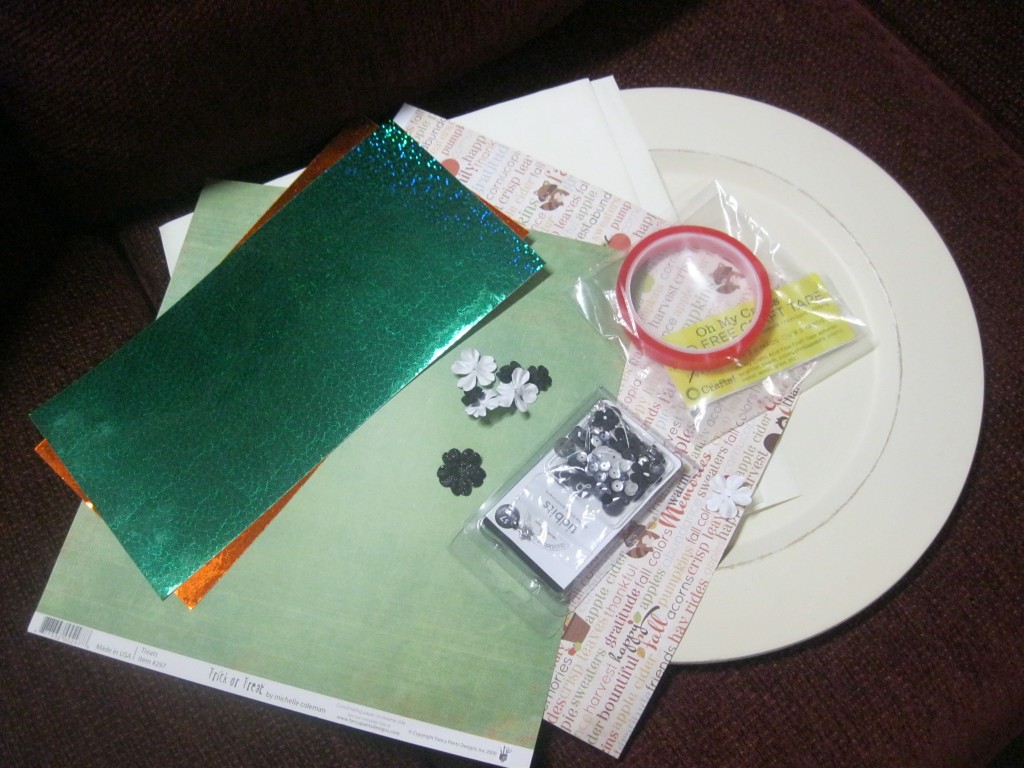
Oh My Crafts send me a box with these supplies:
It seemed to be a mix of fall and Halloween items. To be honest, I was stumped. Sure, I like Halloween…but I didn’t really know what I was going to do with a Halloween plate. It’s hard to get excited about a project when you aren’t really inspired to do anything. Then, I came up with a plan! My 4-year old has just started preschool. Every day when she comes home she dumps her backpack on the floor. I already hate it. Yeah, I’m kinda annoying that way. So I have been wanting to mount a hook on her wall for her backpack and her jacket (when the weather cools off).
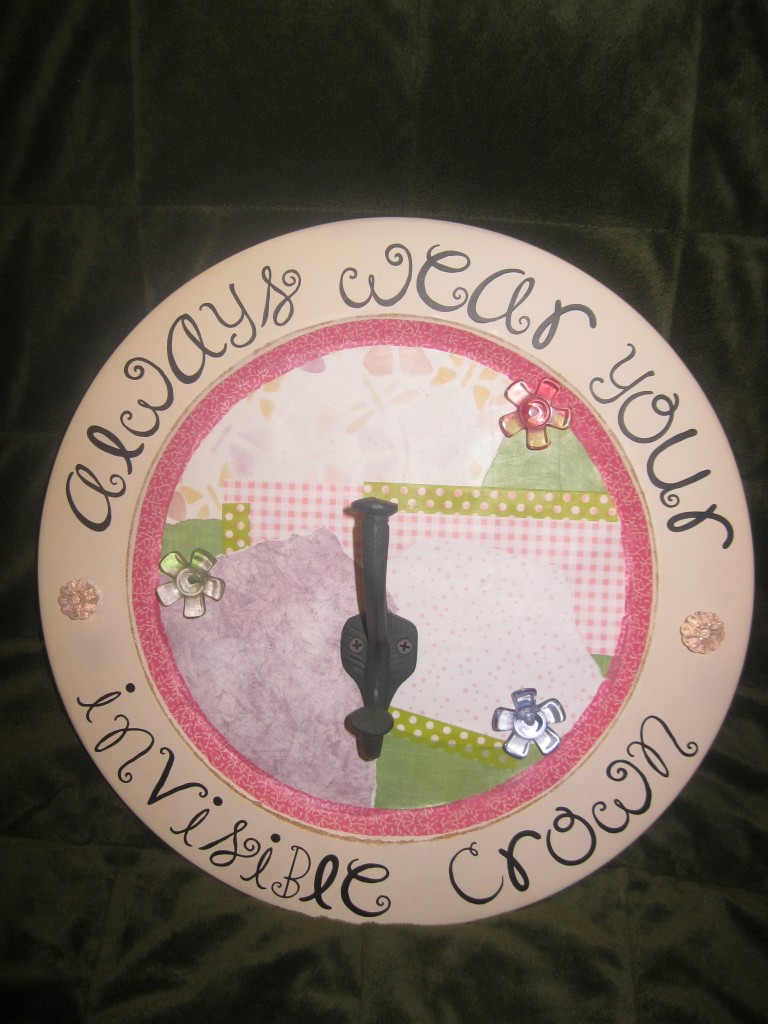
So, I decided to combine the plate project with the need for a hook in her room…and this project was born. It is the first project I have done in a LONG time that I completely thought up on my own, start to finish. Honestly, I am pretty happy with the way it turned out. There are a few things I would change if I had to do it over, but I am happy with it. So here is your tutorial:
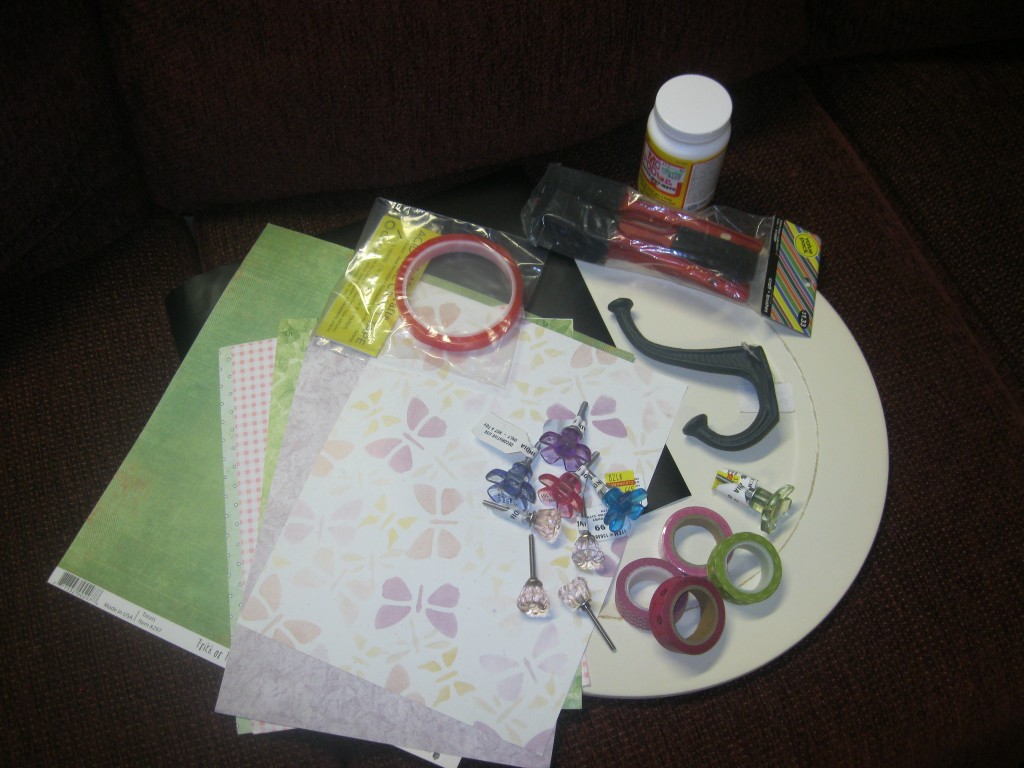
These are the items I started with:
- Large wooden plate.
- Misc scrapbook papers
- Mod Podge and brushes
- Large Hook (to hang coat and backpack)
- Smaller misc drawer pulls (to hang necklaces and other small items)
- Washi Tape
I liked the color of the wooden plate so I went ahead and left that as it was. You could paint it if you wanted it a different color.
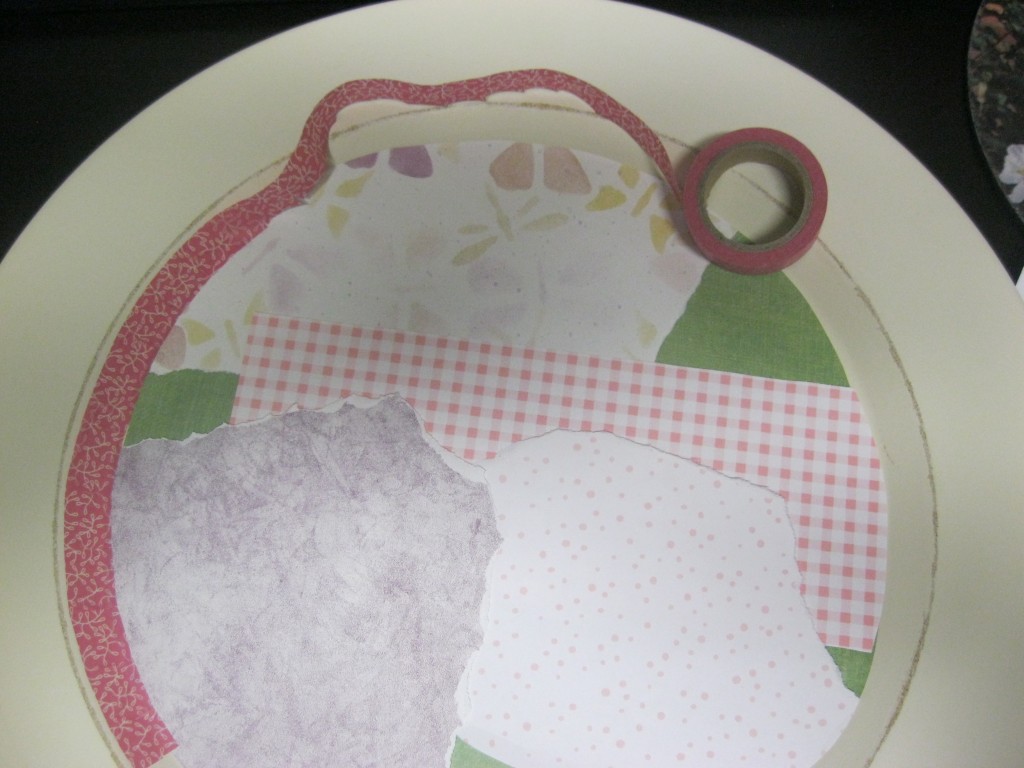
My first step was to make the little paper collage in the center of the plate. I started by cutting a single piece of paper to put in the middle.
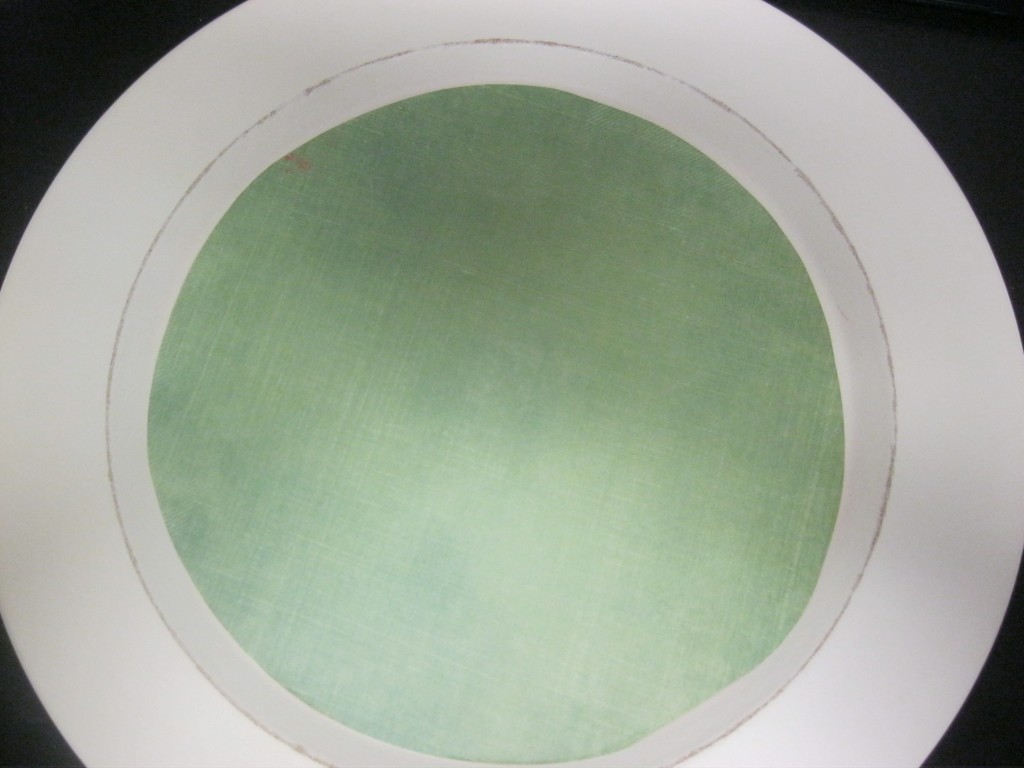
Then I just played with it. I ripped some of the paper and cut some. After I had my paper all placed like I wanted it, I went ahead and picked out a washi tape that I liked (that stuff is the coolest) to put around the ring of the plate.
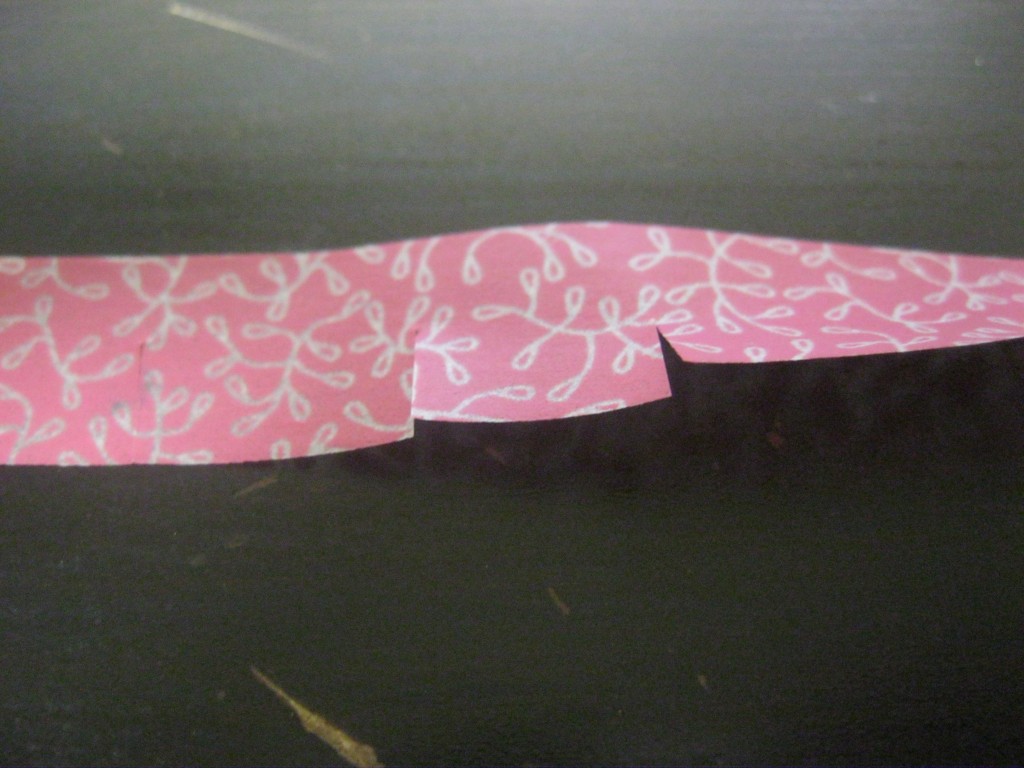
To get the tape to lay flat I had to cut little slits. It still didn’t lay completely flat. You will want to use a pattern that can overlap a little bit.
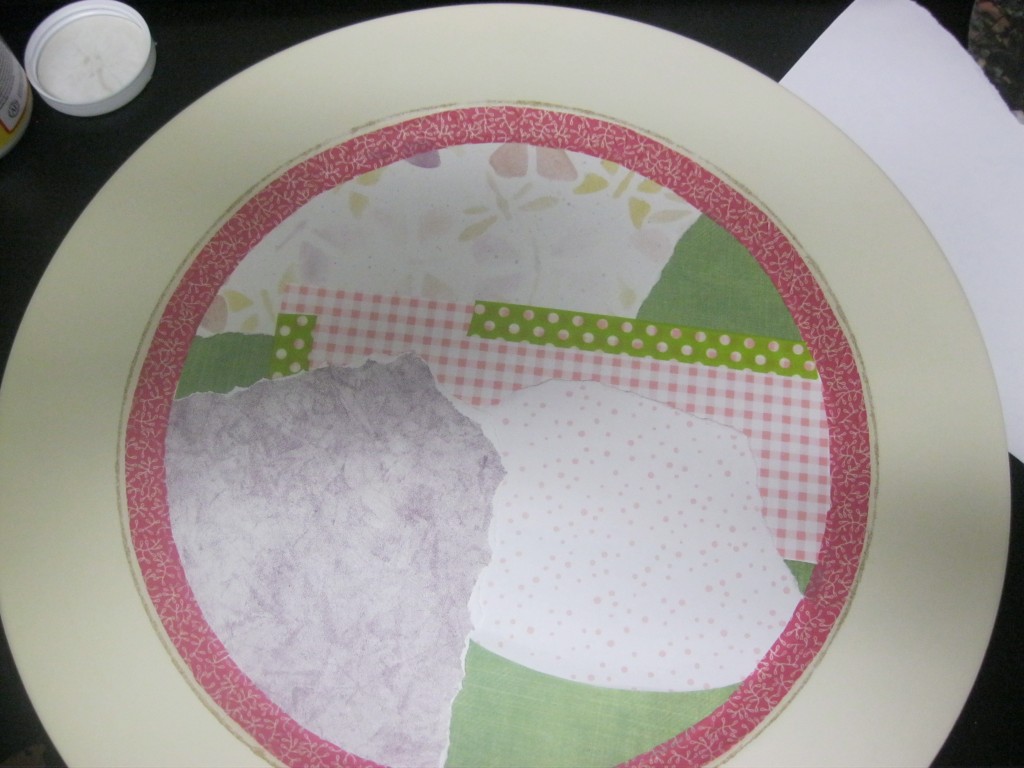
At this point I went ahead and Mod Podged the entire project. I probably should have been doing that from the start. I had a few little floaty edges that probably would have been better had I been doing this from the beginning. I added in a little more Washi Tape to give it a little more fun and dimension too.
My next step was to add the words. I really liked the saying “Always wear your invisible crown.” I just thought it was super cute. So I figured out how big I needed to make my letters and then cut them on a borrowed Cricut Machine. (Thanks Vanessa) If you don’t have one you will need to get some pre-cut letters or do like I did and find an Awesome Friend who will let you use theirs.
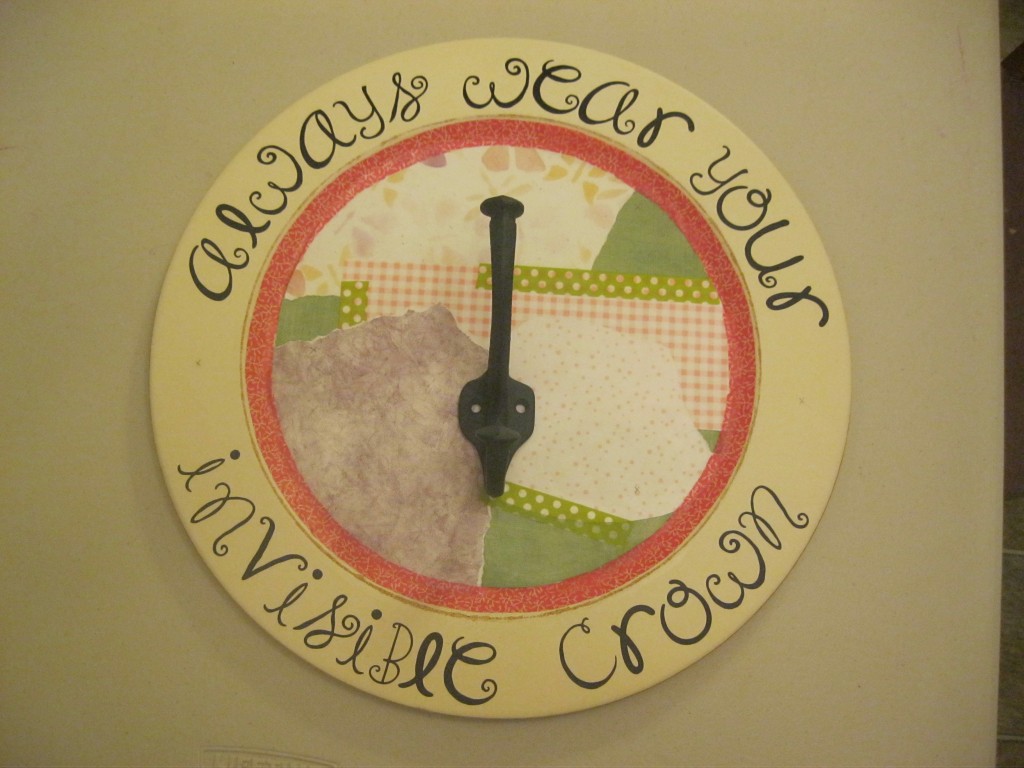
I then marked all the holes that I wanted drilled and let my hubby do the drilling. What a man!
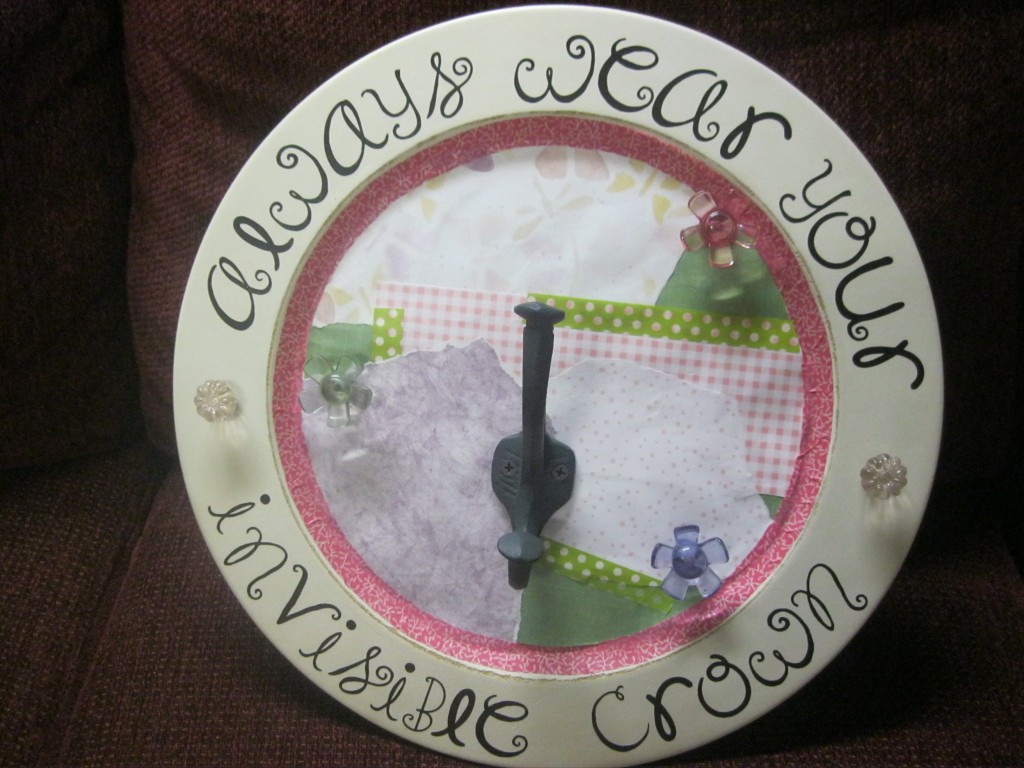
I decided I wanted little hooks for my daughters necklaces, bracelets, ect. So I picked up a bunch of cute little drawer pulls. I was even able to get them at 50% off! Score! The backs were too long so I had my hubby cut those off too.
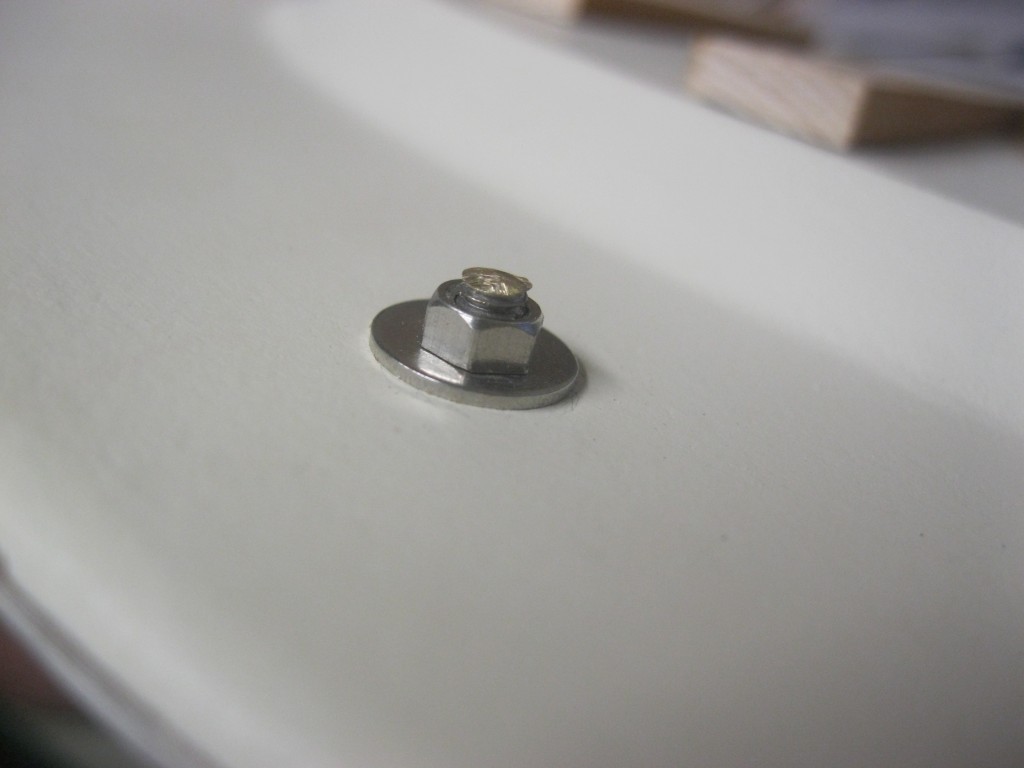
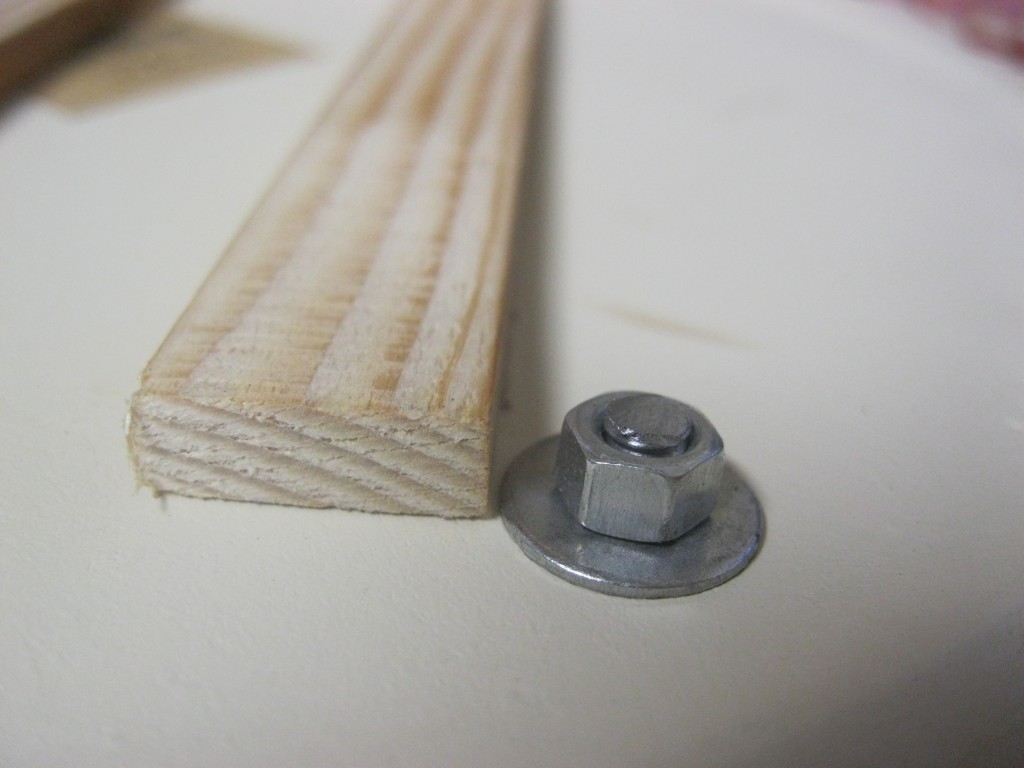
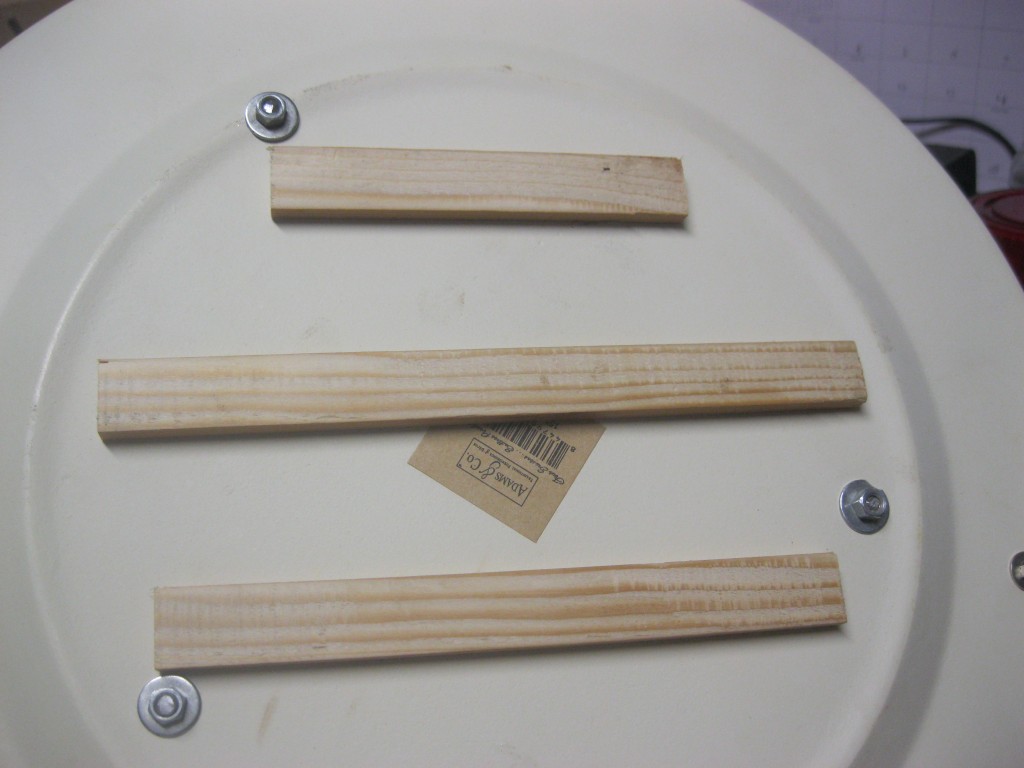
Because I needed this to sit flat against the wall, I had to add some wood onto the back to make up for the screws sticking out the other end. I just attached those with some double stick tape. They aren’t structural, so they don’t need to be really strong.
Attach your big hook to the front, and that is it! I honestly can’t wait to hang this up in my daughter’s room. I would have hung it up tonight but she is sleeping. 🙂



I’ll go put mine on right now. Thanks for the reminder. Good job its a way cute craft!
I love this, Becky!! You did a fantastic job. Seriously… LOVE it!
What little girl wouldn’t love to hang her bag on that. Darling!
Becky you did an incredible job! I love how you thought of it! I had the EXACT same package…it was definitely a challenge!
Great job Becky!!! I think you’ve started something, lol! keep it up 🙂
btw it was great to see you tonight!!
Thanks Laurie! You too. 🙂